
hello and welcome!
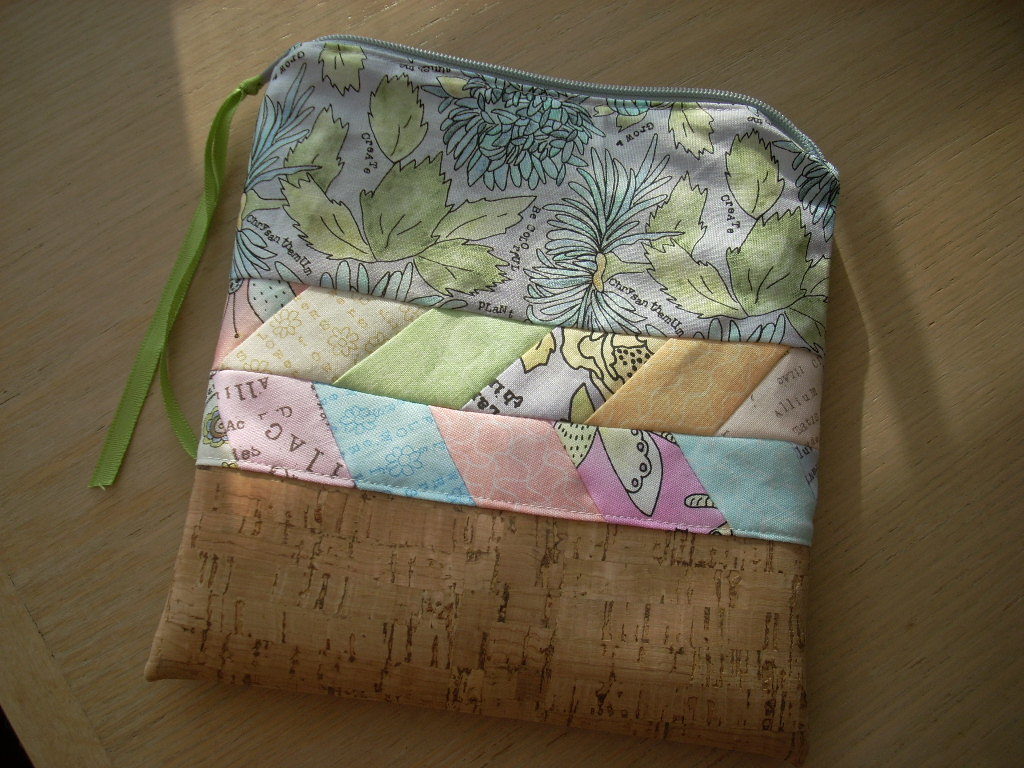
today I am going to share how to make this super cute zippy pouch using Potpourri fabric – new from Windham and shipping to stores in June of 2020!
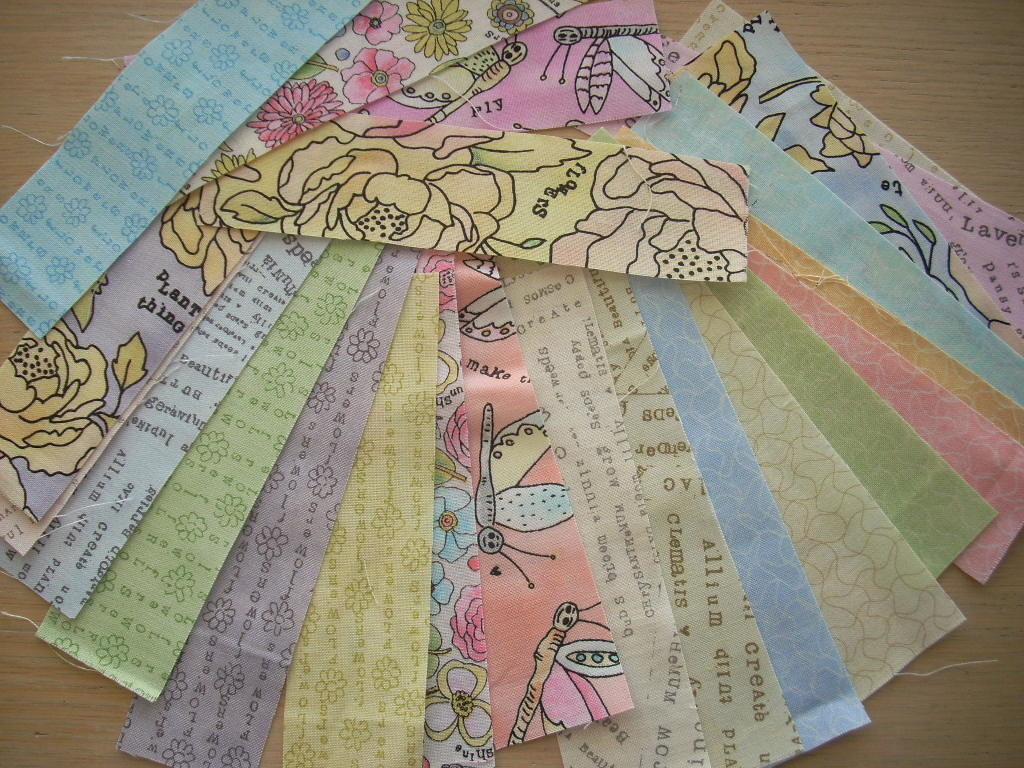
to add a bit of punch to this project, I cut 1.5 inch strips from most of the line…
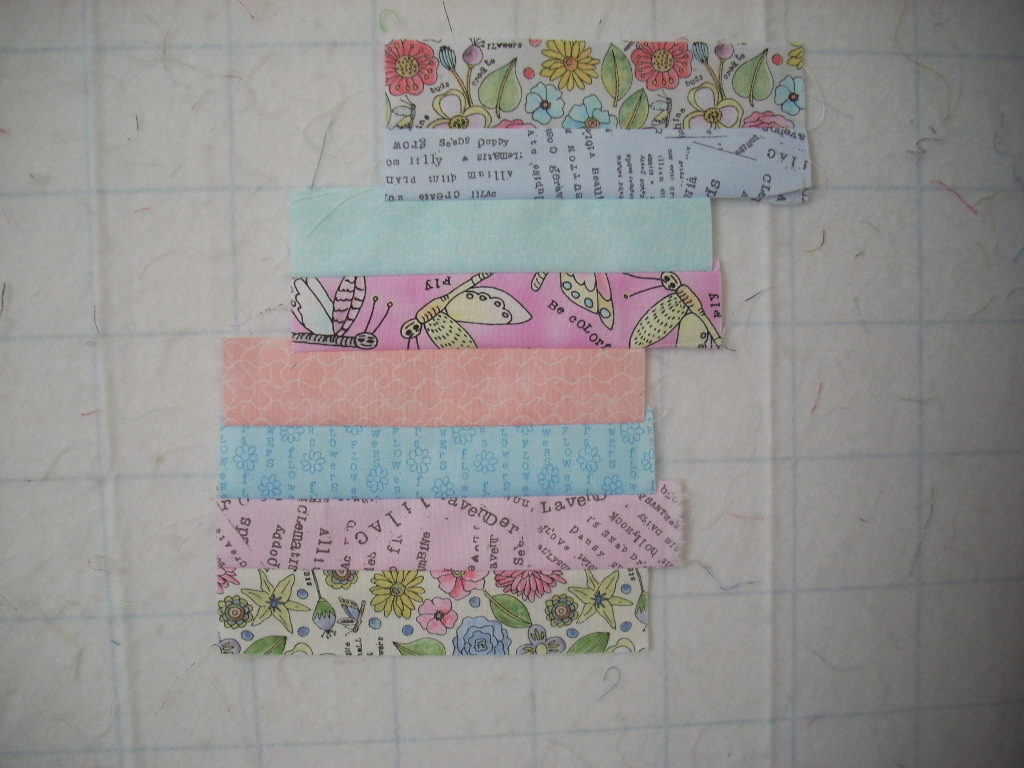
I made two units like this…one was the mirror image of this one…once all sewn together, I cut a strip on the 45 degree angle 1.5 inch wide from each unit and sewed them together…
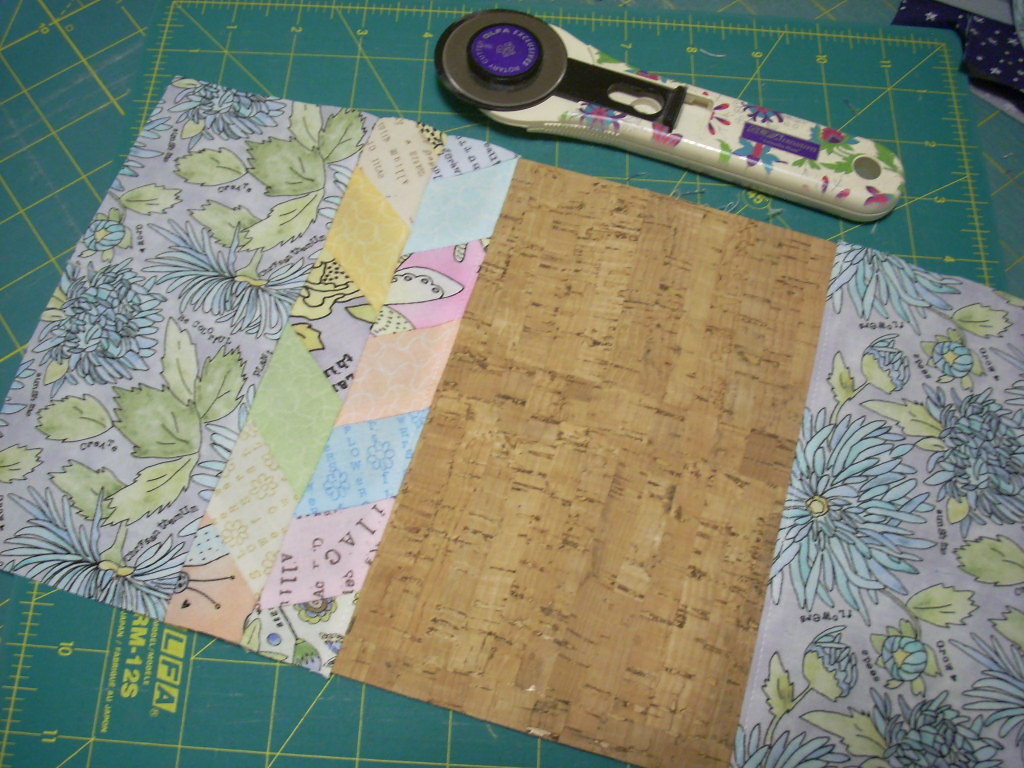
the beauty of this project is you can make it whatever size you like…the piece of cork is my starting point for size. For this zippy, I cut a piece of cork 4 x 8 inches…sewed the herringbone pieced unit on one side, as pictured. One tip is to top-stitch the seam sewn with cork – it will give you a better finished look.

I cut my lining the same size as my outside piece…
so next is to put in the zipper…
a bit of a disclosure here – I neglected to take step by step pictures of putting the zipper in when constructing my zippy….so I needed to make another zippy using the same fabric line, so forgive that the fabrics are different, but the method the same…
one other note – you may have noticed that my outside and lining are just one piece…I actually don’t make my zippy pouches with a bottom seam…I really love the look much better if the bottom is rounded….
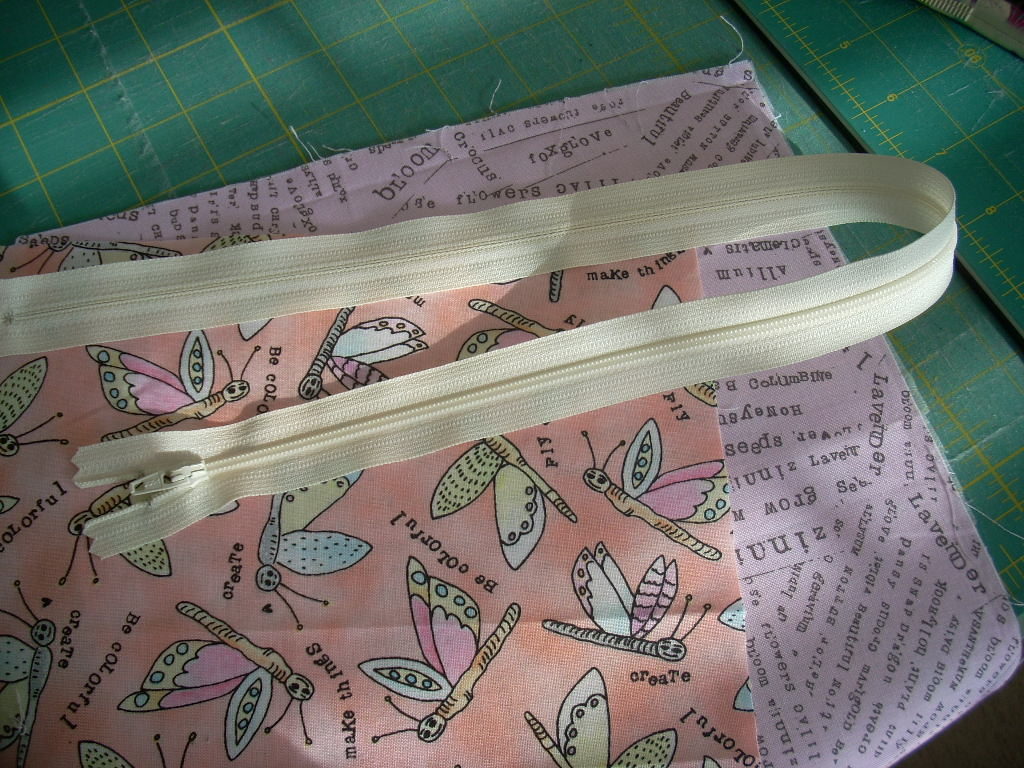
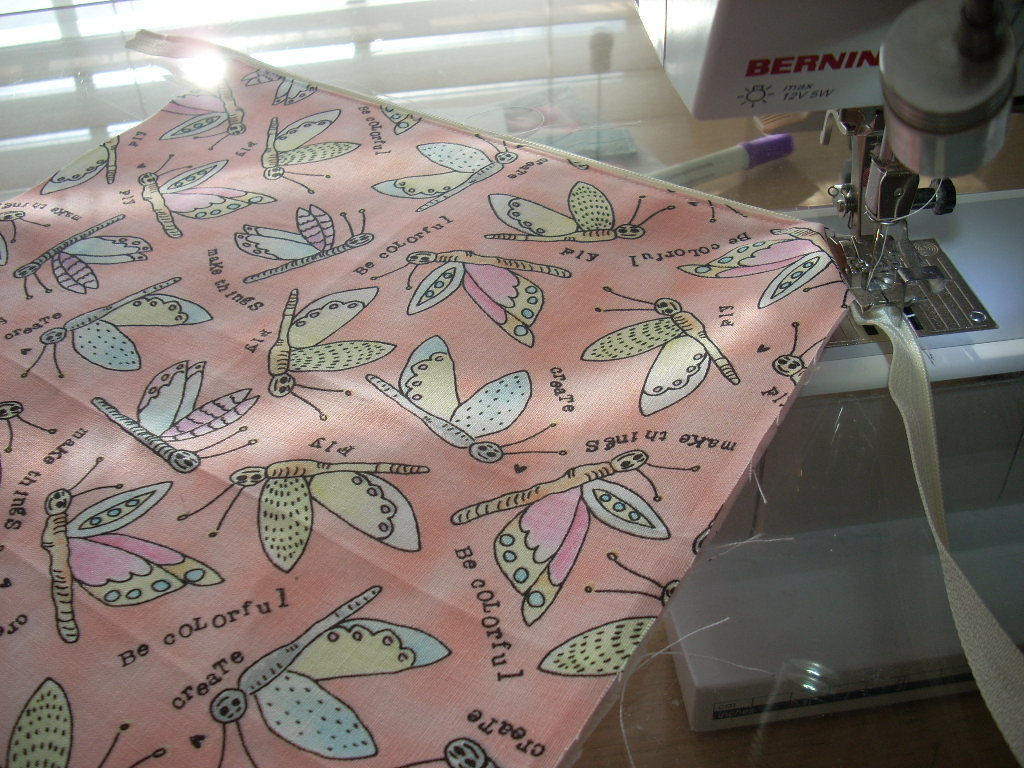
so I use an extra long zipper and trim off the excess later…right sides together and pin the zipper in the middle of the sandwich…another note, whatever fabric is on the top is your outside piece…
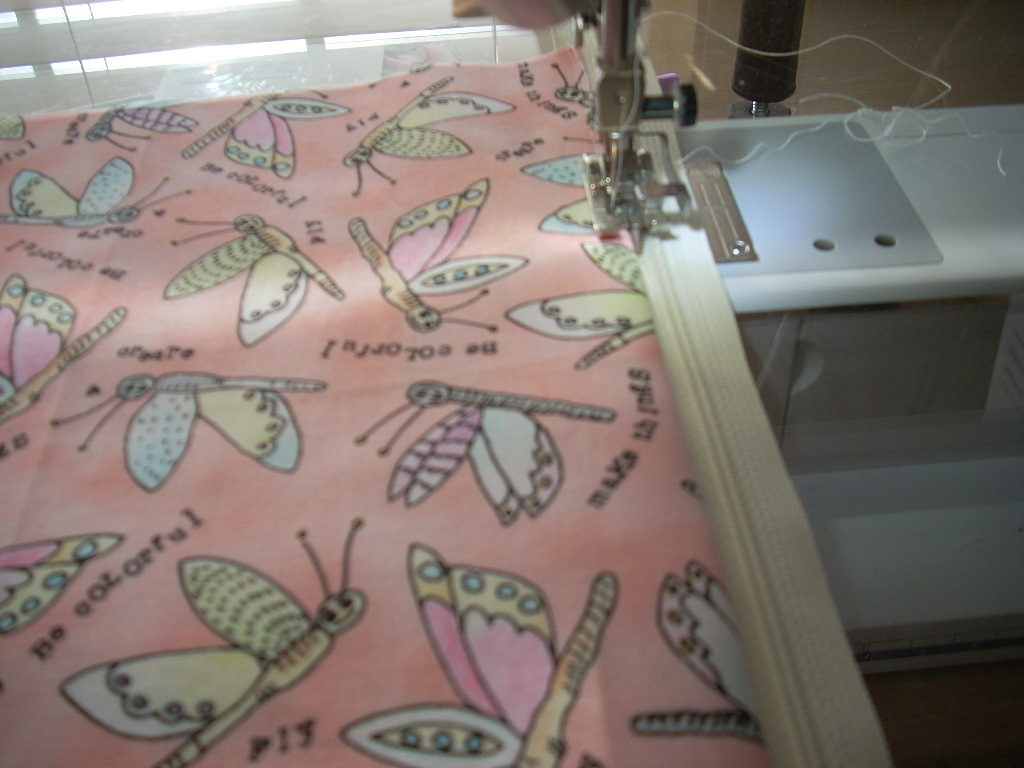
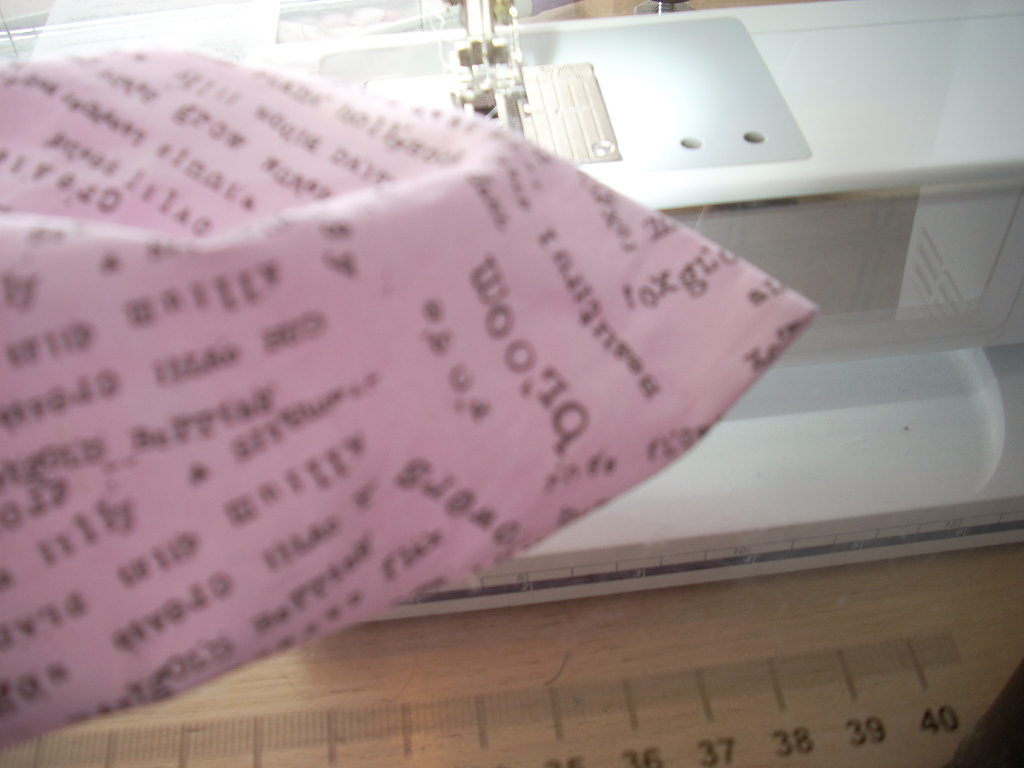
sew with a zipper foot and then turn as illustrated here and edge stitch…
repeat the same steps with the other side…
here you can see the edge stitching of the second side….
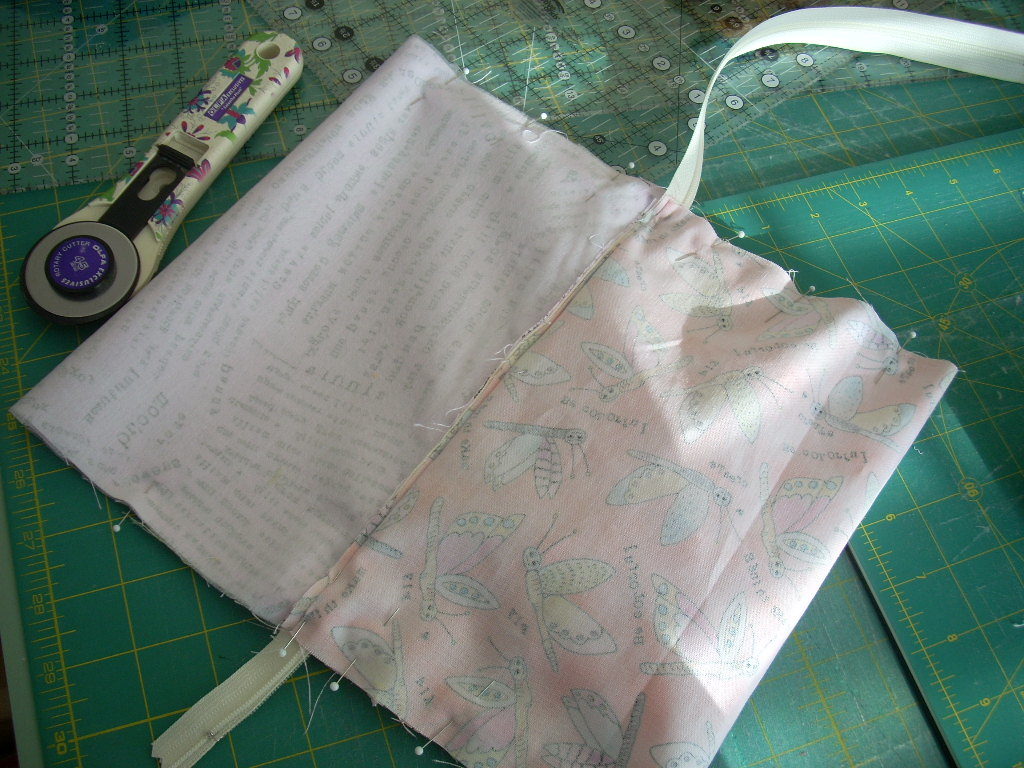
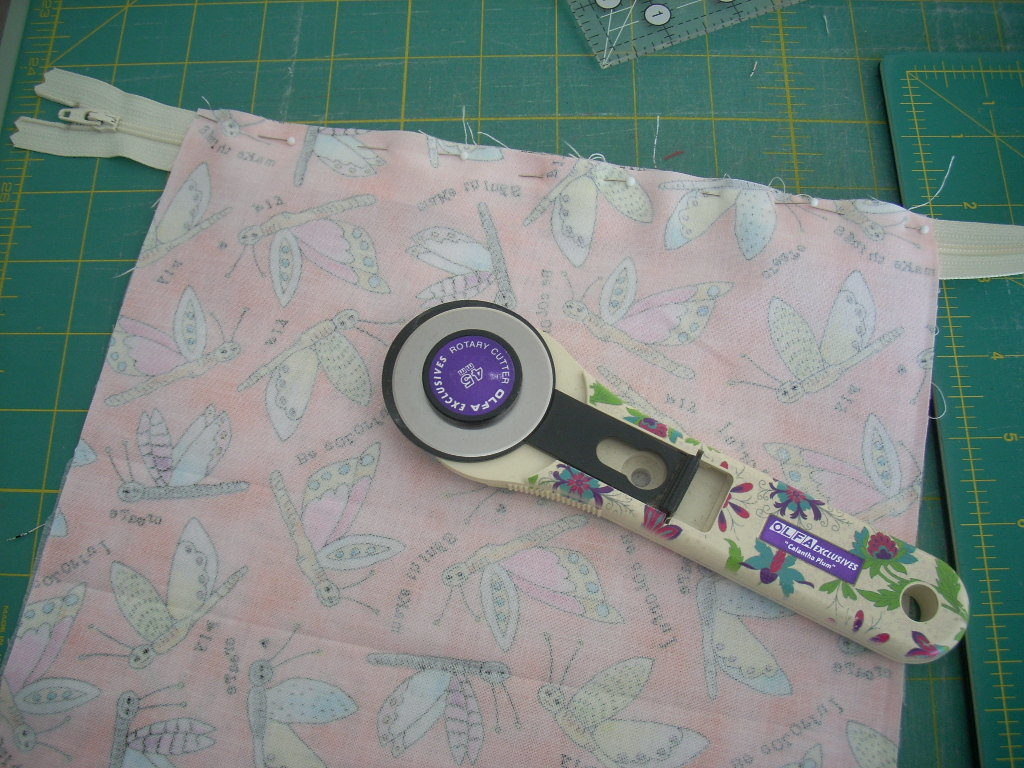
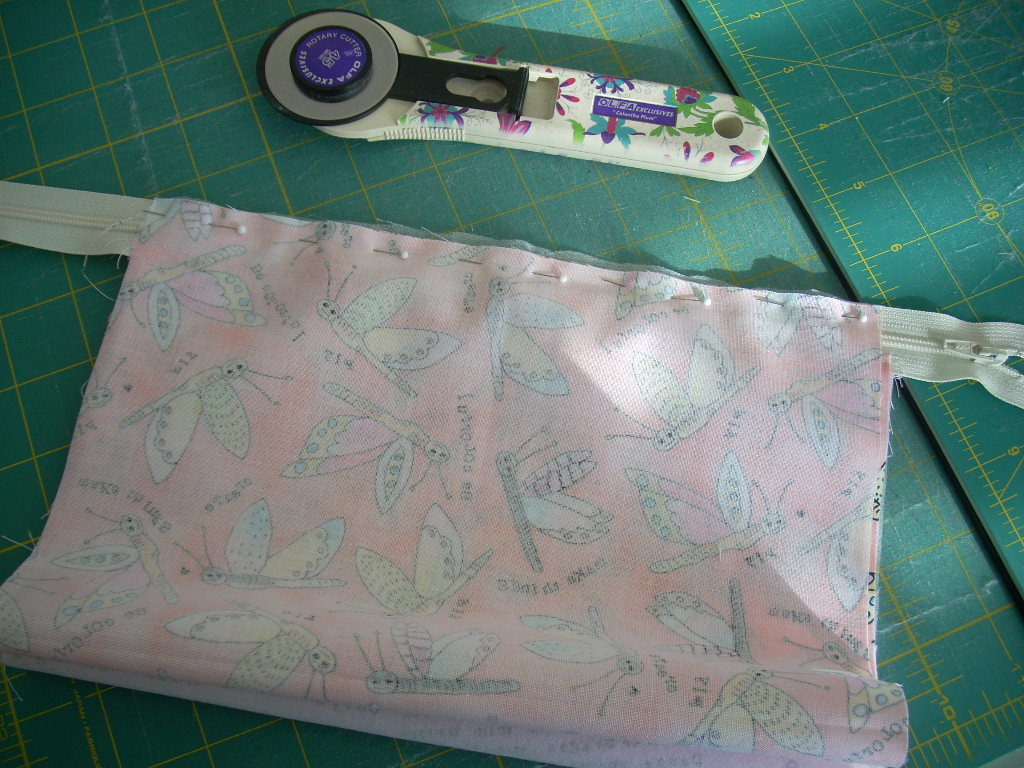
now it is time to sew the sides…turning right sides together…you can see how I have it pinned…remember to un-zip the zipper to about the middle of the pouch…you can experiment with how you want to sew across the zipper…I buy quality zippers online and don’t have any trouble sewing across them.
remember to leave an opening in the lining to turn right side out…
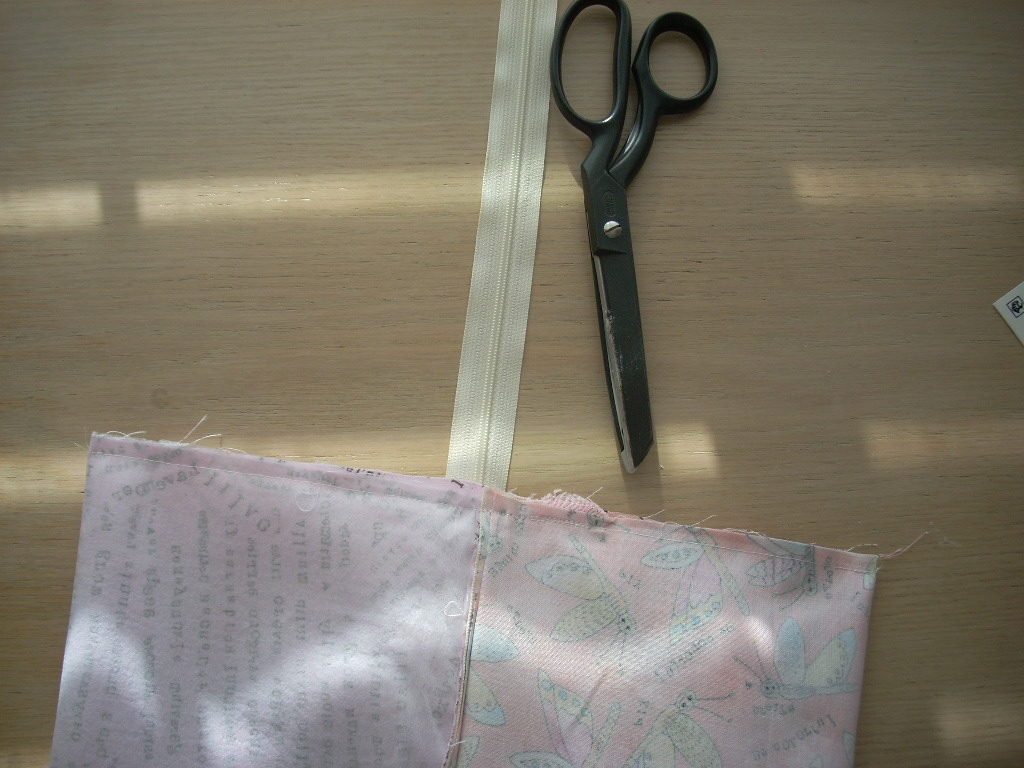
here you can see the extra zipper…and after I finish sewing across it, I am going to trim it with an older pair of scissors….
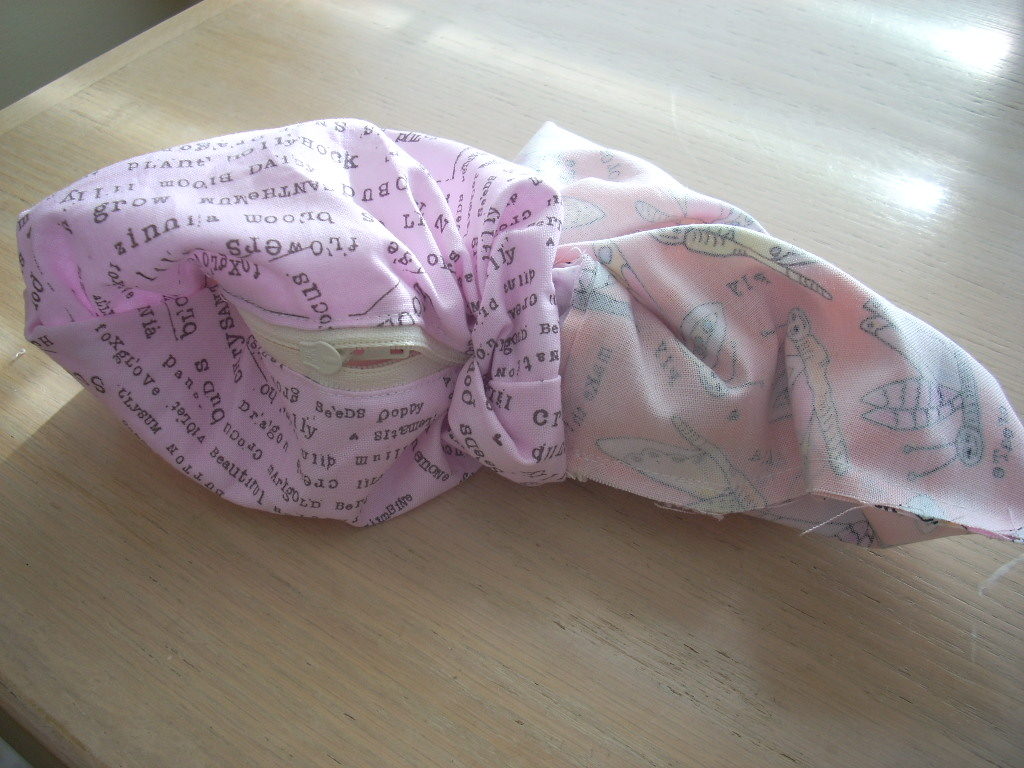
after sewing both sides, then I turn it right side out using the opening I left in the lining…
then I stitch up the opening in the lining…
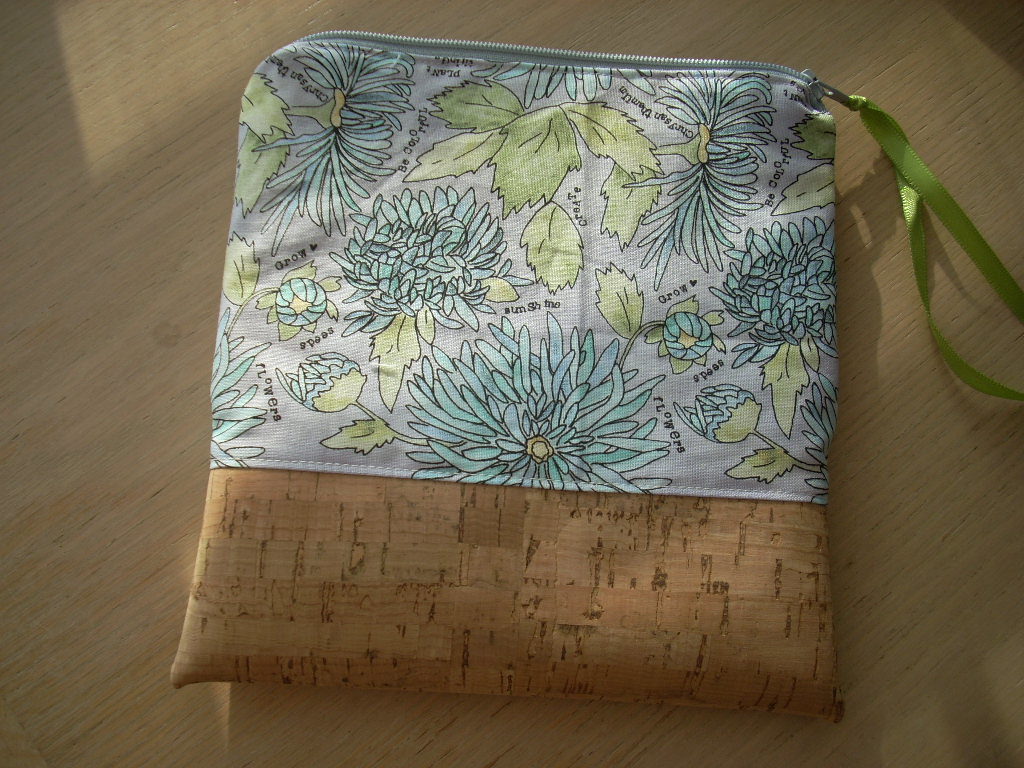
and your zippy is all finished – ready to use…this is the other side…each side is so pretty with this new fabric line!
let me know if you have any questions…always happy to help!
Happy Sewing!
I like the idea to use one piece for the lining, will give it a go!